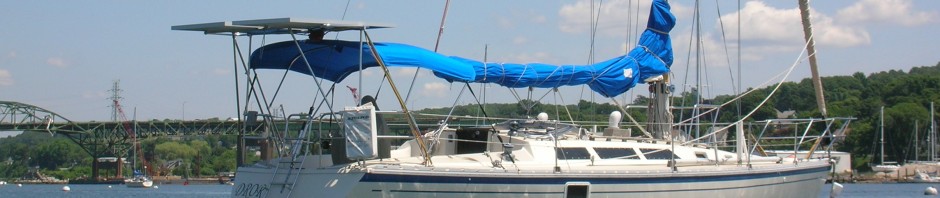
The O’Day we purchased in 2006 came with a new Lofrans windlass. It had never been installed.
As I planned the installation I began to realize why. Boat stuff cost a lot but the installation cost with the bits necessary can be double or triple the cost of the piece to be installed.
There are 2 thoughts on powering the windlass:
1. Run heavy cables from the batteries.
2. Place a battery forward to save on the heavy (expensive) cables, and run lighter cables for charging the battery.
When you consider that a windlass for a 40′ boat is rated at 1,00 to 1,500 watts, you quickly realize that its pretty much like cranking a starter and that a 100amp hour battery will certainly not provide 100 amps continuously for an hour. If you don’t want to damage the battery, I would say 15 minutes is the limit.
Then thinking back to the time we chartered. They interlocked the windlass with the engine. No engine running, no windlass. The reason being to save the battery from ruin.
So, in my opinion the option of mounting a battery forward, possibly in the anchor well or under the fore bunk is just wrong.
You don’t want weight forward. When things really go wrong, like you can’t set the anchor or its dragging. You really don’t want a quota of 15minutes before waiting for the battery to charge!
You certainly don’t want all that weight up forward and you still have to run cables forward.
So, my clear choice was to run cables. I calculated that I need #2 cables based on running from the batteries that are located in what was the 2nd head to the anchor well.
The windlass included deck switches. I add a switch/ thermal circuit breaker rated at 100 Amps and the cable.
I ran a light 3 core cable at the same time in case I want to add remote control from the cockpit. I don’t know if its advisable but I left the option open. It will require adding a double solenoid in the anchor well which costs about $100 and another thing to go wrong.
I used multi strand tinned cable that I got from genuinedealz.com at a fraction of the West Marine price. Shipping was free. Got the breaker from them as well. High quality and great service.
Although the O’Day has a conduit running under the deck rail, it appears to be blocked by a few bulkheads that require drilling.
I used the conduit to the forecabin locker then ran it down and alongside the hull.
The cable need termination lugs that typically need applying once the cable is run and cut to the right size.
I found that a simple bolt tightened nicopress crimp tool for light rigging makes an excellent lug crimper for tight spaces at a low cost. I don’t believe in soldering for the same reason one uses multistrand on boats.
Mounting the windlass. Important to make it strong. I bolted a 2×8 pressure treated plank under the lip of anchor well using 3 1/2″ carriage bolts on each side and with blocks to take up the space under the lip. Liberal use of fender washers.
The plank had holes cut in it as per the Lofrans template and was sandwiched between the windlass and its motor. The motor is very heavy but the keyhole slots in the motor casing allows lift and hang.
My windlass has a chain/rope gypsey aand no drum so careful placement of the plank has the cover bumpout covering the gypsey and the chain dropping to the deepest part of the well.
The foot switches are mounted just aft of the locker.
Photos and spelling and gramar check to follow.